Share :
You are here:
- Home
- APRON WALL EN
- Avengers Infinity Quest Apron Wall
Avengers Infinity Quest Apron Wall
€30,00
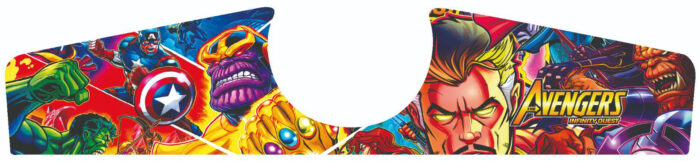
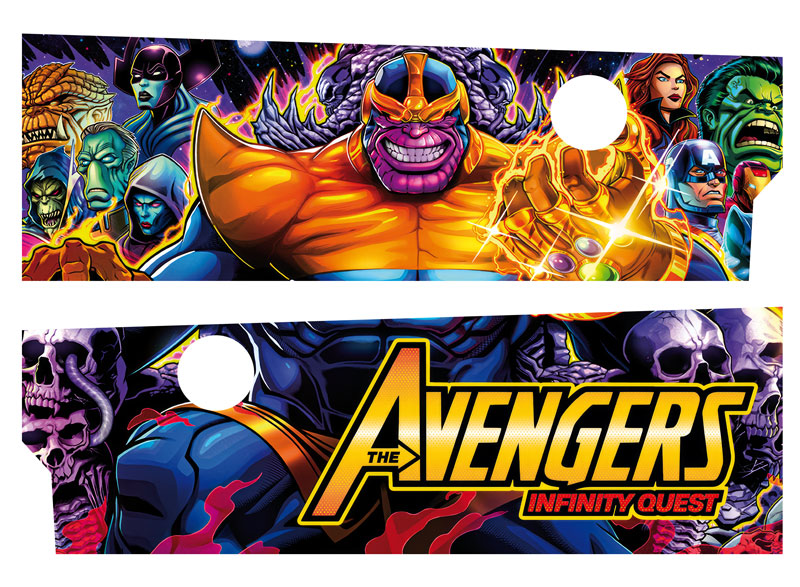
Apron Wall for pinball designed to dress the apron sides just below the flippers and instantly improve the visual impact during gameplay.
Easy installation: adhesive application with no tools required.
👉 See the full description for detailed installation instructions.
Description
Apron Wall for Pinball – Visual Enhancement of the Player Area
Enhance the visual finish of your pinball machine with these Apron Wall panels, designed to dress the area located directly in front of the player, on the vertical sides of the apron (just below the flippers).
This area is constantly visible during gameplay but is often left plain or unfinished. Apron Wall panels allow you to instantly improve the visual consistency of your machine by adding themed graphics that match your pinball.
Installed on the vertical apron walls, they bring depth, detail and immersion without any modification to your machine.
Where are Apron Wall panels installed?
- Located directly in front of the player
- Mounted on the vertical sides of the apron
- Always visible during gameplay
Why install Apron Wall panels?
- Improve the overall visual consistency of your pinball machine
- Dress an area that is often empty or overlooked
- Add a premium finishing detail
- Increase player immersion
👉 Installation is simple and accessible, even for beginners, with no tools required.
Apron Wall Installation – Step-by-step guide:
- Turn off the pinball machine to work safely.
- Locate the installation area:
The panels are placed on the vertical walls on each side of the apron, just below the flippers, directly in your field of view. - Clean the surface thoroughly:
Use a microfiber cloth to remove dust, grease and fingerprints.
👉 A clean surface ensures strong adhesion. - Test positioning before applying:
Place the panels without removing the adhesive to check:- left / right orientation
- alignment
- visual result
- Peel the adhesive backing gradually (do not remove it all at once).
- Apply the panel:
Start from the top and press down gently. - Smooth the surface:
Press from the center outward to avoid air bubbles.
👉 Adjust immediately if needed. - Check final alignment on both sides.
Important tips:
- Apply slowly and carefully
- Avoid touching the adhesive surface
- Work in a clean environment
- Once applied, the adhesive is strong → take your time
Specifications:
- Product: Apron Wall panels
- Position: apron (player side)
- Mounting: adhesive
- Installation: tool-free
- Effect: instant visual upgrade
Apron Wall panels are a simple and effective way to give your pinball machine a more finished, immersive and professional look.