Showing 49–64 of 334 results
90,00€ – 150,00€ Price range: 90,00€ through 150,00€
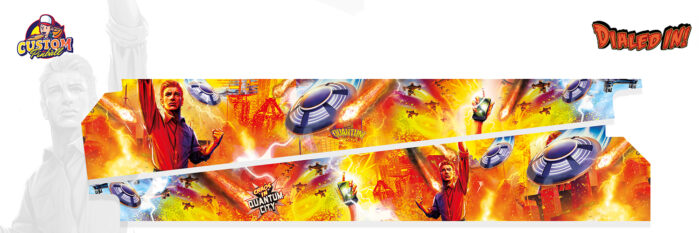
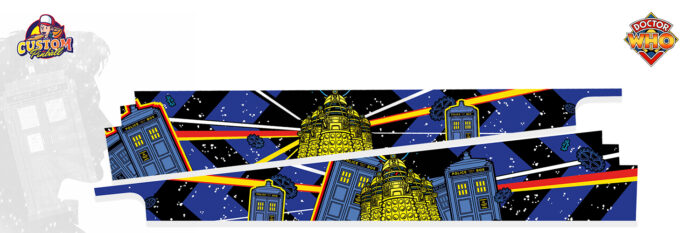
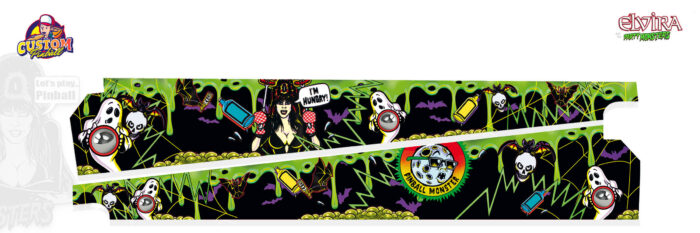
Give your pinball machine a unique touch with these side arts in plexiglass or vinyl , designed for precise installation and a flawless finish.
Easy Installation:
Plexiglass Version:
Place the pinball machine on its metal arms and remove the hinge screw.
Position the side art from the back, leaving a 1 mm gap to prevent contact with the glass.
Secure it in place.
Use a light to locate the screw hole on the other side, drill with a 10 mm wood bit, then reinsert the screw.
Vinyl Version:
Place the pinball machine on its metal arms and remove the hinge screw.
Lightly sand the surface where it will be applied and clean thoroughly.
Position the side art from the back, leaving a 1 mm gap to prevent contact with the glass.
Smooth it out to ensure strong adhesion.
Use a light to locate the screw hole on the other side, cut with a utility knife, then reinsert the screw.
👉 Recommended Protection: To prevent wear when lifting the playfield, we recommend this product: Pinball Assembly Blades .
Package Contents: 1 x Pinball Side Art in Plexiglass or Vinyl (depending on selected model).
Note: Dimensions may slightly vary depending on the selected model and design.
90,00€ – 150,00€ Price range: 90,00€ through 150,00€
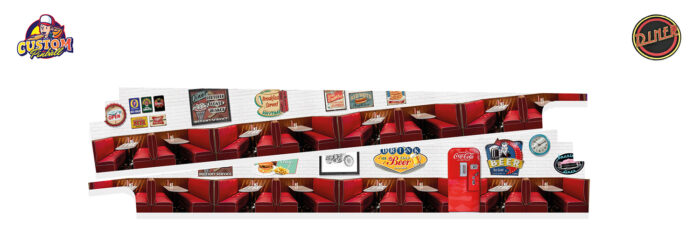
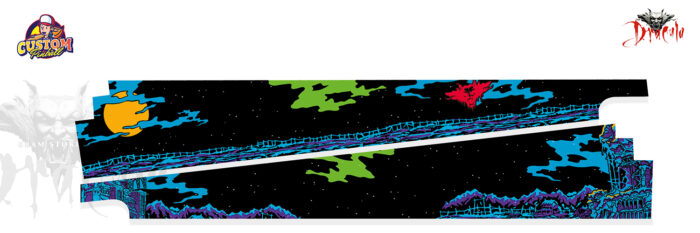
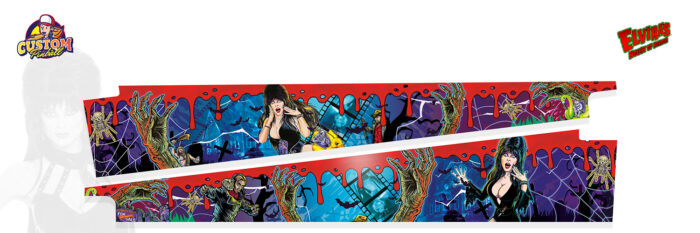
Give your pinball machine a unique touch with these side arts in plexiglass or vinyl , designed for precise installation and a flawless finish.
Easy Installation:
Plexiglass Version:
Place the pinball machine on its metal arms and remove the hinge screw.
Position the side art from the back, leaving a 1 mm gap to prevent contact with the glass.
Secure it in place.
Use a light to locate the screw hole on the other side, drill with a 10 mm wood bit, then reinsert the screw.
Vinyl Version:
Place the pinball machine on its metal arms and remove the hinge screw.
Lightly sand the surface where it will be applied and clean thoroughly.
Position the side art from the back, leaving a 1 mm gap to prevent contact with the glass.
Smooth it out to ensure strong adhesion.
Use a light to locate the screw hole on the other side, cut with a utility knife, then reinsert the screw.
👉 Recommended Protection: To prevent wear when lifting the playfield, we recommend this product: Pinball Assembly Blades .
Package Contents: 1 x Pinball Side Art in Plexiglass or Vinyl (depending on selected model).
Note: Dimensions may slightly vary depending on the selected model and design.
90,00€ – 150,00€ Price range: 90,00€ through 150,00€
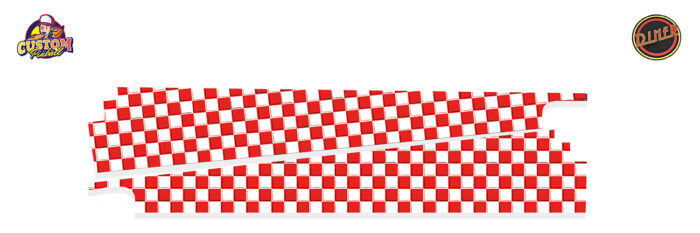
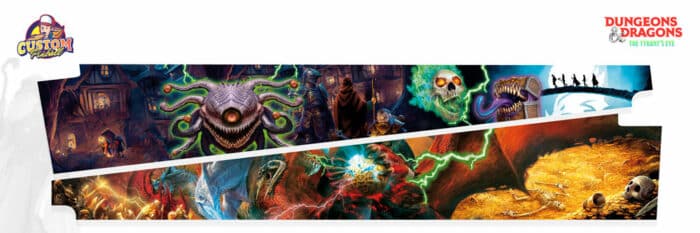
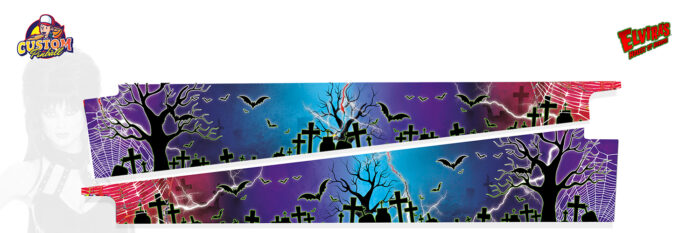
Give your pinball machine a unique touch with these side arts in plexiglass or vinyl , designed for precise installation and a flawless finish.
Easy Installation:
Plexiglass Version:
Place the pinball machine on its metal arms and remove the hinge screw.
Position the side art from the back, leaving a 1 mm gap to prevent contact with the glass.
Secure it in place.
Use a light to locate the screw hole on the other side, drill with a 10 mm wood bit, then reinsert the screw.
Vinyl Version:
Place the pinball machine on its metal arms and remove the hinge screw.
Lightly sand the surface where it will be applied and clean thoroughly.
Position the side art from the back, leaving a 1 mm gap to prevent contact with the glass.
Smooth it out to ensure strong adhesion.
Use a light to locate the screw hole on the other side, cut with a utility knife, then reinsert the screw.
👉 Recommended Protection: To prevent wear when lifting the playfield, we recommend this product: Pinball Assembly Blades .
Package Contents: 1 x Pinball Side Art in Plexiglass or Vinyl (depending on selected model).
Note: Dimensions may slightly vary depending on the selected model and design.
90,00€ – 150,00€ Price range: 90,00€ through 150,00€
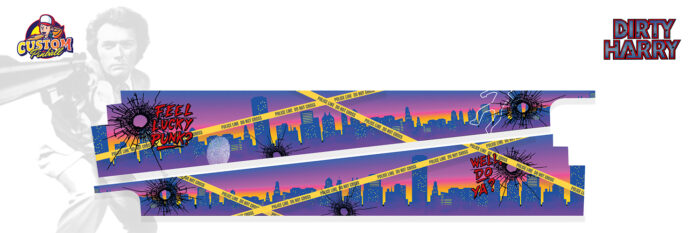
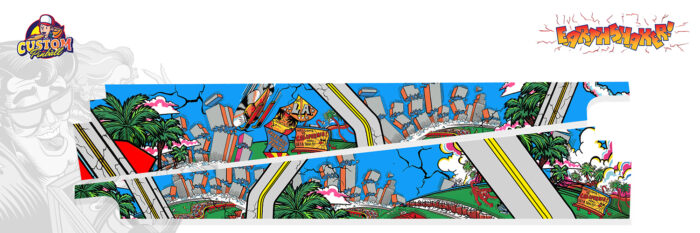
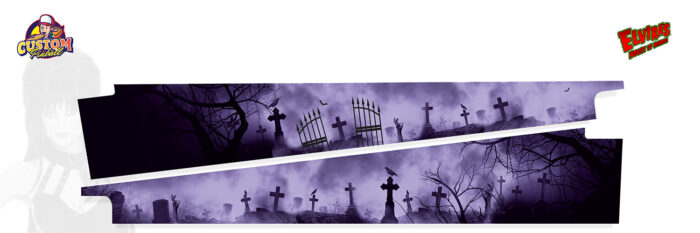
Give your pinball machine a unique touch with these side arts in plexiglass or vinyl , designed for precise installation and a flawless finish.
Easy Installation:
Plexiglass Version:
Place the pinball machine on its metal arms and remove the hinge screw.
Position the side art from the back, leaving a 1 mm gap to prevent contact with the glass.
Secure it in place.
Use a light to locate the screw hole on the other side, drill with a 10 mm wood bit, then reinsert the screw.
Vinyl Version:
Place the pinball machine on its metal arms and remove the hinge screw.
Lightly sand the surface where it will be applied and clean thoroughly.
Position the side art from the back, leaving a 1 mm gap to prevent contact with the glass.
Smooth it out to ensure strong adhesion.
Use a light to locate the screw hole on the other side, cut with a utility knife, then reinsert the screw.
👉 Recommended Protection: To prevent wear when lifting the playfield, we recommend this product: Pinball Assembly Blades .
Package Contents: 1 x Pinball Side Art in Plexiglass or Vinyl (depending on selected model).
Note: Dimensions may slightly vary depending on the selected model and design.
90,00€ – 150,00€ Price range: 90,00€ through 150,00€
Give your pinball machine a unique touch with these side arts in plexiglass or vinyl , designed for precise installation and a flawless finish.
Easy Installation:
Plexiglass Version:
Place the pinball machine on its metal arms and remove the hinge screw.
Position the side art from the back, leaving a 1 mm gap to prevent contact with the glass.
Secure it in place.
Use a light to locate the screw hole on the other side, drill with a 10 mm wood bit, then reinsert the screw.
Vinyl Version:
Place the pinball machine on its metal arms and remove the hinge screw.
Lightly sand the surface where it will be applied and clean thoroughly.
Position the side art from the back, leaving a 1 mm gap to prevent contact with the glass.
Smooth it out to ensure strong adhesion.
Use a light to locate the screw hole on the other side, cut with a utility knife, then reinsert the screw.
👉 Recommended Protection: To prevent wear when lifting the playfield, we recommend this product: Pinball Assembly Blades .
Package Contents: 1 x Pinball Side Art in Plexiglass or Vinyl (depending on selected model).
Note: Dimensions may slightly vary depending on the selected model and design.